What are the parts of a wood burner stove called?
September 16, 2022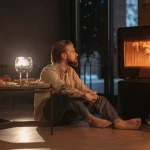
The UK’s simple rules about log burner stoves
November 11, 2022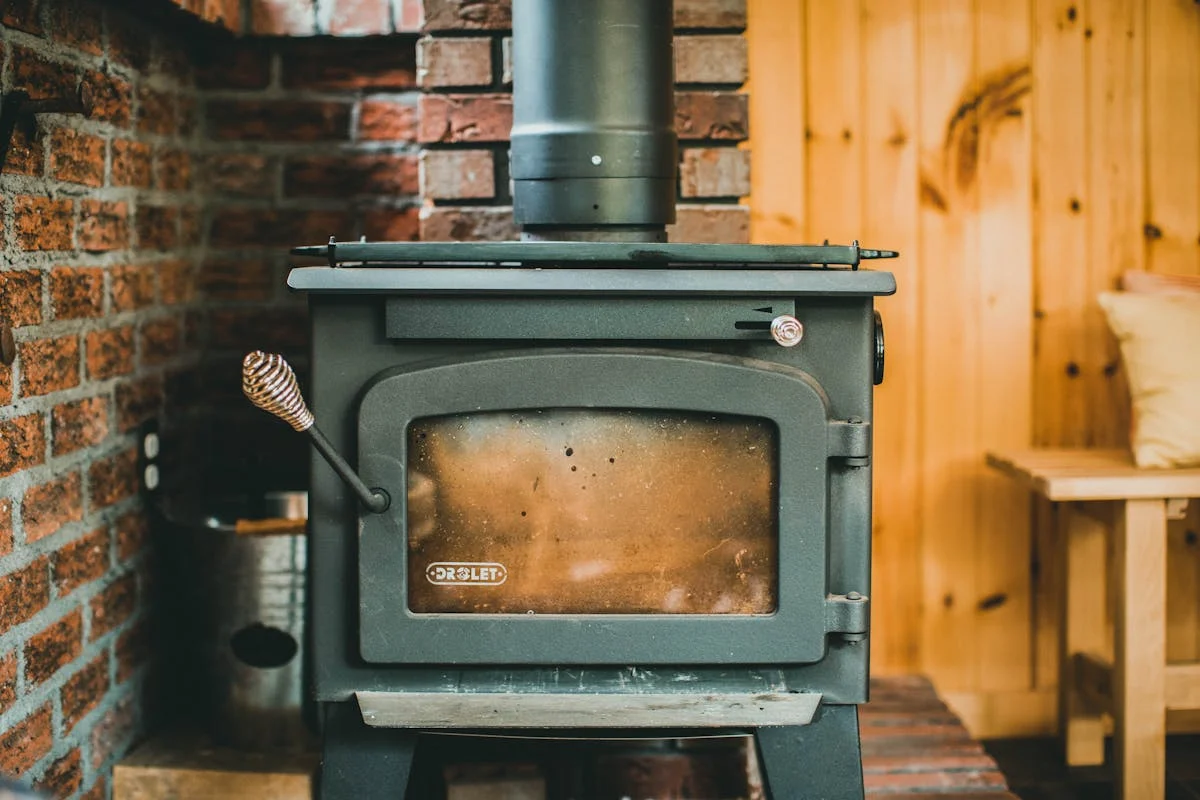
We all know coal is a fossil fuel no-no. So when we heard an elderly friend say her wood burner wasn’t performing well enough unless she threw some coal into it, we sprang into action. As it turned out she wasn’t laying her fires very well, the kindling she was using wasn’t delivering the best results, and she hadn’t quite got the hang of the stove’s ventilation system.
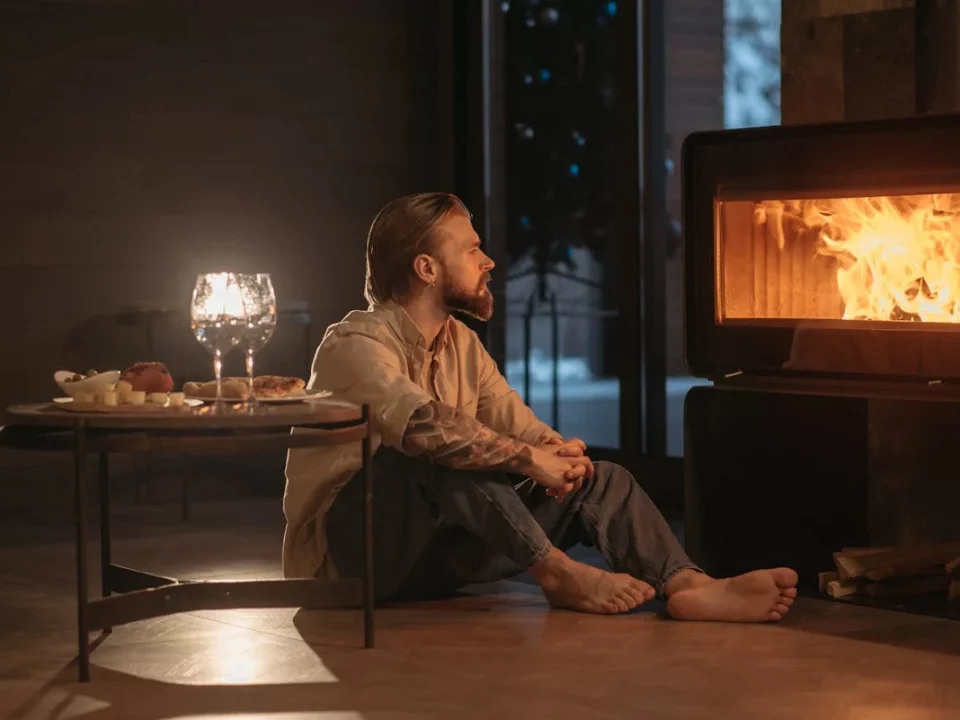
We’ve enjoyed using our wood burning stove for eight years and during that time we’ve got pretty good at lighting it. At first, as novices, we’d sometimes struggle to get it going or it would take ages to heat up. Now we’re experts. This is what we’ve discovered about the best kindling, the best firelighters, and the most efficient way to lay the fire before lighting it.
Our step by step guide to the perfect wood burner fire
First, assemble your ingredients. You need paper, kindling, firelighters, firewood and something to light it all with.
Paper-wise some people use old newspapers, others use letters and magazines or burn their way through paperwork they don’t need to keep. At the moment we’re using old paperwork from a mortgage we had ten years ago, in a combination of scrumpled up balls and sheets twisted into long, thin sticks. If you don’t have any paper, good quality kindling alone will do an excellent job as long as your firelighters are man enough for the task.
We’ve been burning the old wood taken down off our roof when it was replaced last year. Because it is super-dry and very old, dating back to the 1800s, it burns incredibly well, catching light easily and setting fire to the bigger chunks of wood fast. If you can get hold of perfectly dry kindling wood, it’ll really help.
When your kindling is a bit damp you might be able to pile it up neatly in the space between the stove and the fireplace where it will quickly dry out. You’ll need a moisture meter to check what the kindling and firewood have the 20% or less moisture needed to burn properly. Otherwise you’re just wasting your money because damp wood doesn’t burn well and gives off very little heat as well as sometimes smoking like a dragon.
Trial and error tells us the best firelighters of all are ‘wood wool’ firelighters made from wood shavings and wax. They’re great value for money, available in big box-fulls online. One firelighter should be enough but we like to use three, one in the middle of the fire and one either side, to get things crackling faster and hotter.
We’ve talked extensively about the best firewood, so take a tour of this blog to get the in-depth knowledge you need. Basically it needs to be dry, chopped into the right-sized chunks, and made up of the right sort of wood, not wood that generates thick oils and tars that block the chimney and cause a fire hazard.
Lastly, a lighter. A cigarette lighter is not much use, nor are matches. You can’t stick the flame deep enough into the laid fire, where the firelighters are, without burning your fingers. Get a long-handled gas lighter instead, or one of those gadgets chefs use to caramelise sugar, a pleasure to use without singeing yourself.
How to lay the perfect fire in a wood stove
This is what we do, but you can always tweak it to suit yourself.
- Clean out the previous night’s ash and leftovers, then hoover the inside to keep the airways nice and clear. We use our Henry hoover but you can buy special ash vacuums and fireplace hoovers
- Open up the top vent, bottom vents and anti-smoke vents completely to circulate the air and get the fire going fast
- Crumple up some paper into balls. We make six balls then arrange them in two parallel rows of three
- Balance a small chunk of nice, dry firewood on top of the paper balls
- Make long sticks of twisted paper and stand them all around the edge of the structure
- Poke a firelighter into the middle and one either side
- Arrange kindling in a pyramid around the whole thing
- Light the firelighters using your long-handled lighter
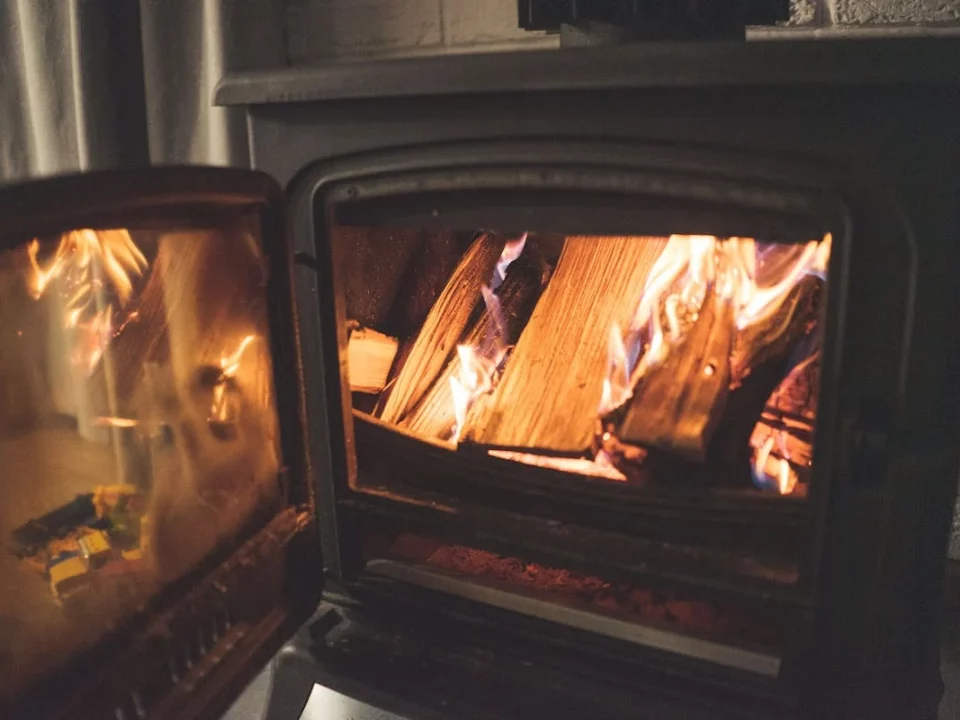
- As soon as the paper is burning and the kindling has caught fire, close the top and bottom vents completely and partially close the anti-smoke vents for an excellent ‘draw’
- Keep an eye on things until the fire is fully established, roaring away, then add logs on top
Troubleshooting smoke!
Now and again, particularly when there’s no wind, our burner decides to give off loads of smoke before the fire catches properly. We’ve never figured out exactly why, so we can’t predict it, but when it happens we slam the vents shut to stop the smoke getting into the room, open the front door to make a draught and it sorts itself out within a minute or so, with no more smoke. Once the smoke has completely stopped we re-open the vents until the fire is going well, then close them again as normal.
Drying firewood safely indoors
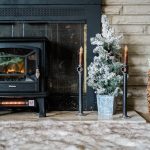
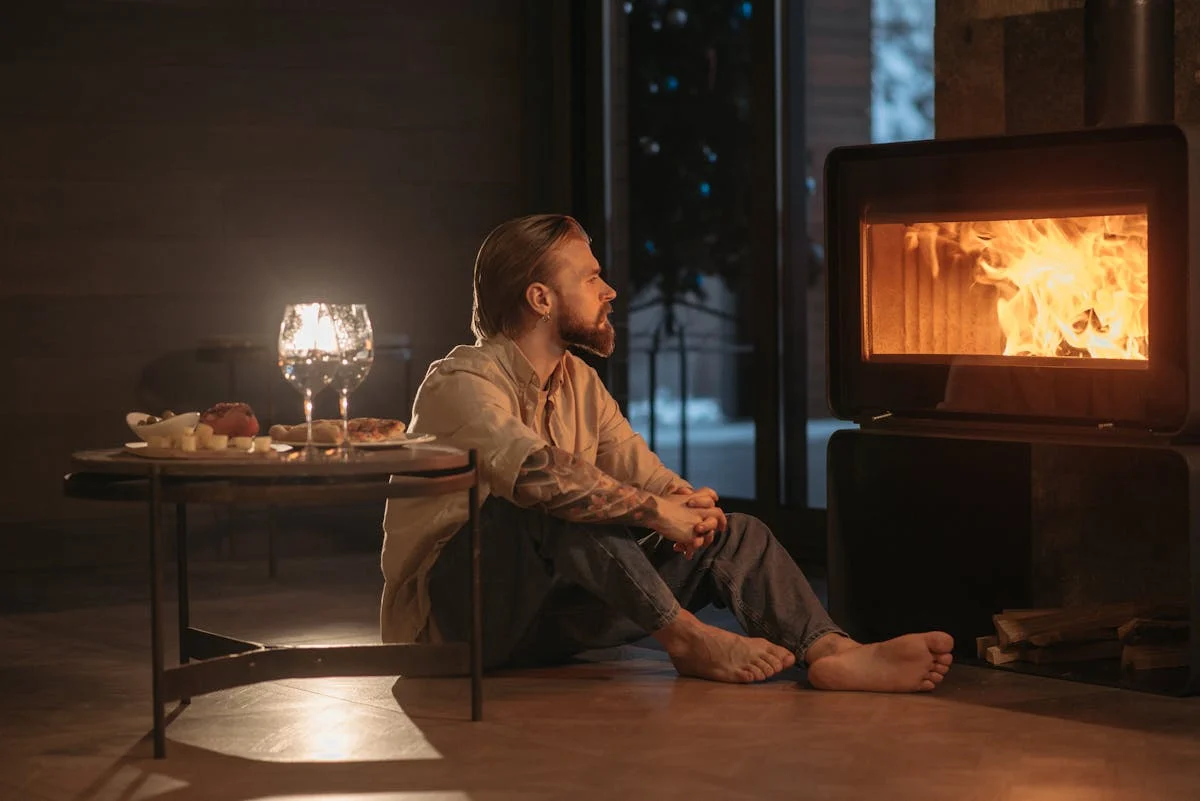
As we mentioned, the space between our stove and the fireplace surround is perfect for drying kindling. It’s also handy for drying our logs out, which can get a bit damp stacked in the wood shed in wet weather. Logic is the answer: stack less damp chunks at the bottom of the pile with the dampest logs on top, simply because the heat from the stove naturally rises. As long as you never leave the stove burning unattended and don’t stack the logs too close to the stove, it works a treat. By the end of an evening with the stove lit, the logs and kindling stacked at each side have dried out enough to use the next night.
Why the cast iron body is more important than the fire inside
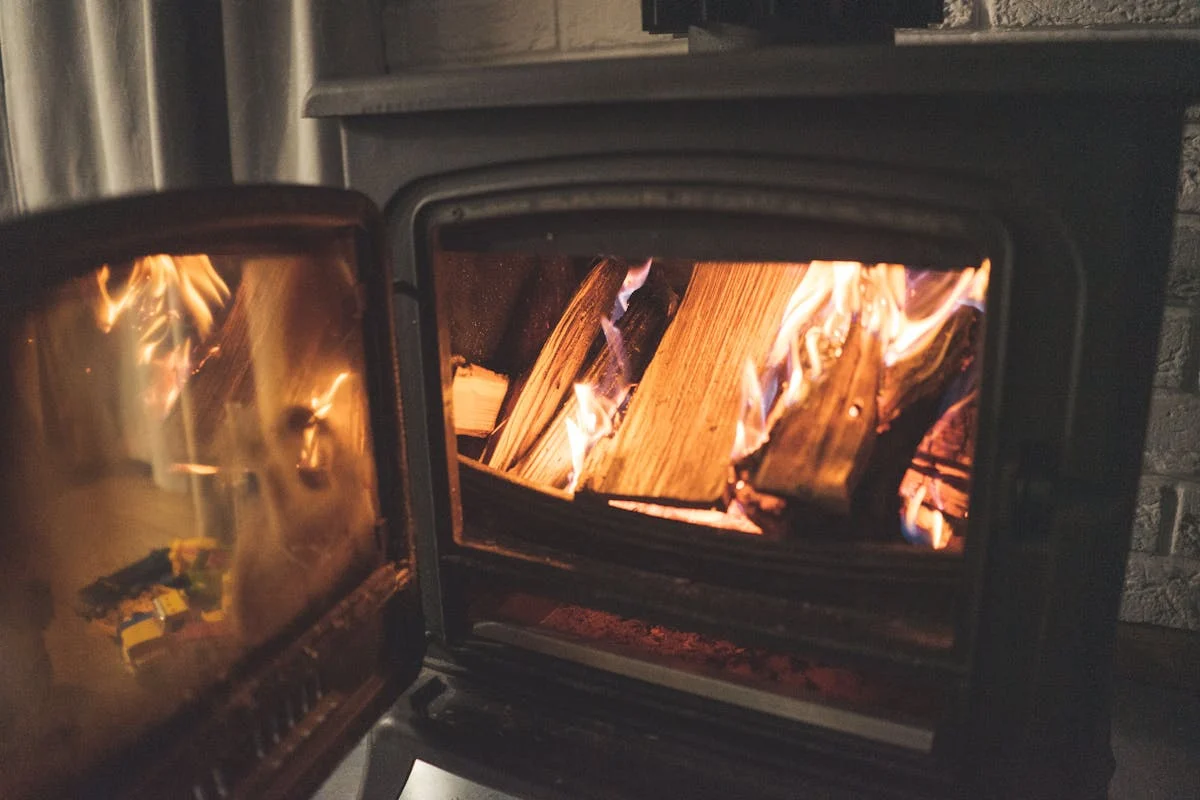
One of our friends lights a roaring fire in his wood burner then keeps the doors open. Crazy! He doesn’t understand that the secret is in the metal body of the stove, not the fire inside it. Cast iron heats up fast and can get remarkably hot even when the fire inside the stove is fairly low-key. Then it works like an enormous radiator, throwing heat out into the surroundings. It might feel hotter for a while when you open the doors but when the metal cools down, which it quickly does, the radiator effect doesn’t work anywhere near as well.
You don’t need constant big flames either, even though they look great. Once the wood begins to give off that deep red glow, effectively turning into charcoal, you’re really motoring because it burns hotter. Your fuel will last longer because you’re not burning it up fast in a mighty fireball. Plus, you’re not wasting heat like you do with an open fire.
Best EVER tip to clean wood stove glass
We used to scrub hopelessly at the smoky residue left on the glass doors. Damp cloths, dry cloths, washing up liquid, Windowlene and laundry liquid all failed miserably. But as it turns out, a simple sheet of ordinary dry kitchen roll works like magic to get rid of the dirt instantly. Just scrub and it’s gone. Who knew!
Hopefully our tips will make your wood burner life easier. If you have any tips of your own, feel free to leave a comment or let us know.